8 Tips for Buying Furniture on Craigslist


Craigslist... the only place in the world where you can buy furniture, get a job, find apartment rentals, and find a date all in one place! 

I first stumbled on Craigslist years ago when I was looking for tickets to a concert. I had heard that you could find great deals on tickets so I thought I'd give it a shot. I never found any tickets but I did find something that caught my interest... furniture!

When me and Mr. got our first place I was furniture shopping for a living room set. Everything in the stores was WAY out of my budget. I went to Craigslist and found a microfiber living room set that was purchased a year ago for $1100 (at least that what the owner said) for only $450.00. Long story short, I liked what I saw, negotiated the price down to $400.00 and had a new living room set. 

I also purchase a desk from a nice lady on Craigslist for only $50! At the time, it was selling for $100 at and Target. The desk was in perfect condition! It's now being used as a nightstand in my Master Bedroom

If you are interested in shopping on Craigslist here are some things to keep in mind.

1. Know exactly what you are looking for - With thousands of listings it is best to know exactly what you are looking for. It's easy to get lost in just looking at things, which can turn into a bunch of missed buying opportunities.

2. Know where to shop. - I've found that the nicest furniture is in the nicest parts of town. I always search Buckhead, Perimeter, or Midtown area (for those in the Atlanta area) when furniture shopping on Craigslist. If you are outside of Atlanta, think about the nicer areas in your town and search there.

3. Search Efficiently - You can exclude certain words from your search by using a hyphen "-". For Example: if you are looking for a rug but want to exclude those from Target you can search "Rug -Target". On the other hand you can do an OR search by using the pipe "|". For example, I found and rented a townhouse on Craiglist before I bought my house. Some people listed it as townhome and some listed as townhouse. To include both I entered "townhome | townhouse". Knowing these trick can save ALOT of time!

4. Be patient - If the item you are looking for is not immediately found, keep looking until it comes up. Try to check once a day when you are really on the hunt for something, you never know what might come up. 

5. Be quick - You've found the item! Now hurry and email the seller. Chances are there are others who are interested in the item, especially if it is a good deal and nice furniture. Don't spend days trying to decide if you want it!

6. Set a meeting location that is comfortable for both you and seller - Get a feel for the seller through email and phone conversations. If you aren't comfortable don't force the situation. Take someone with you. Also, many police stations now offer an area for meeting for online sales. Safety first!

7. Negotiate - When the listing is old or the seller seems desperate to sell, try offering a lower reasonable price. Most people have wiggle room in their asking price, so it doesn't hurt to try.

8. Have cash ready - If you like what you see, be prepared to pay after viewing the furniture. Sellers on Craigslist are usually looking to sell immediately and are not interested in future payments!


Have you ever purchased anything from Craigslist? Do tell!

Painted Front Door Inspiration


If you follow me on Instagram you will know that recently we began painting our front door. I spent about 6 months trying to choose a color. I taped paint samples to the door and I would ask any and everybody who came over what they thought....including the UPS man and pizza man! Yep, I was soliciting all types of help on this one. 

I think picking a front door color is so important because it's the first thing people see when they come to your house. I finally narrowed it down to a color, I posted a sneak peek picture on Insta of what I chose. I thought I would share today some front door inspiration that helped me narrow down my color and that might also help you if you are trying to choose a color.With front doors, I believe you should go bold! Check out the inspiration below and share with me in my comments your favorites.


Photo Sources:
Margot Austin
The Kim Six Fix
Maria Killiam


Photo Sources:
Maria Killam
320 Sycamore Blog
Apartment Therapy
Santa Cruz Hubpages
HGTV
Cape 27 Blog

Which of these are your favorites?

Old School Desk Makeover

How to Makeover an Old School Desk with Spray Paint #DIY

A couple months ago I did a little room swapping and switch my daughter's room to my office/guest bedroom. She was all excited until she realized she was getting a smaller room! (hehe) Since the space is smaller I've been looking for ways to give her a more purposeful room while still keeping it fun and girly.

While browsing some of my fave thrift stores I ran across a small desk that I thought would fit perfectly in her room. Honestly I wanted it for my own selfish reasons too. This desk was exactly what I remembered from elementary school. You know the desk that has the nook under it that you slide all your books and supplies in. It was a bit of a nostalgic moment for me. (plus it was only $7!) I picked it up and the tried it out in her room and the size was perfect. It just needed a little makeover to be perfect for her room.

Here is what I started with:

How to Makeover an Old School Desk with Spray Paint #DIY

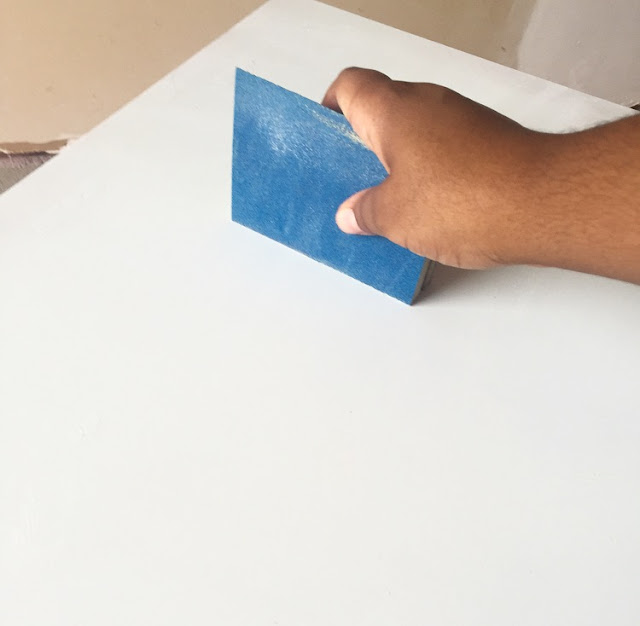
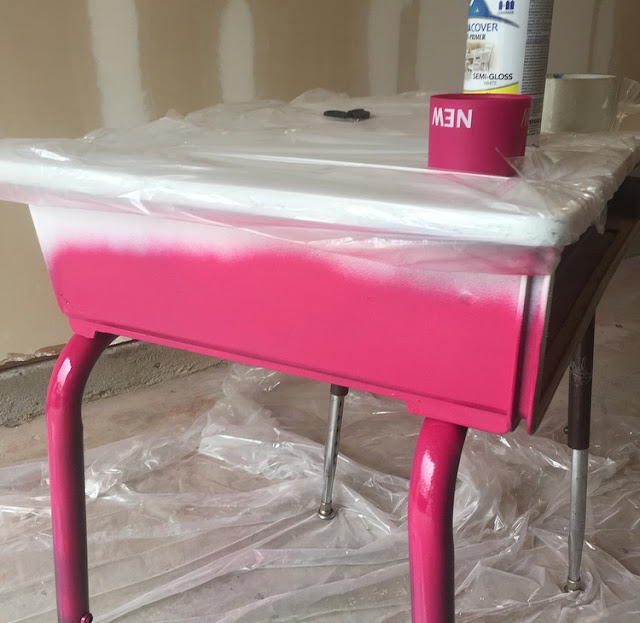
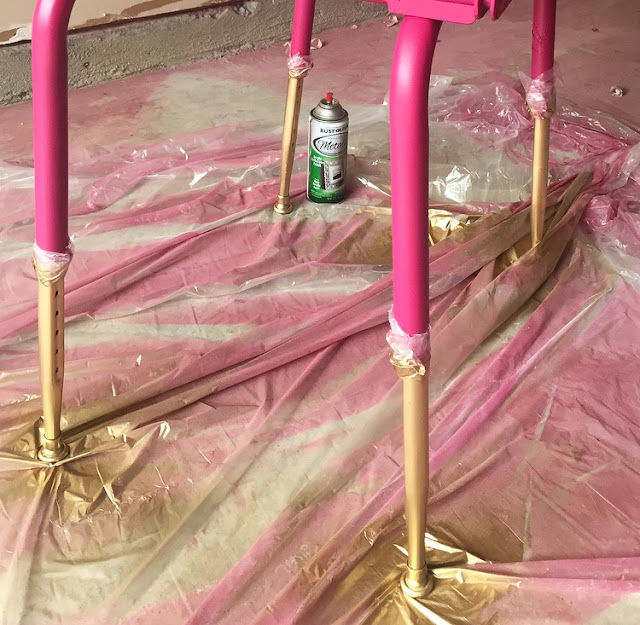
There was some damage to the desk such as some nicks in the plastic frame and also a piece of wood missing in the front. Outside of that it was ok. I used a combination of paint and spray paint to make over her desk. I broke the desk up into 3 sections and I used a different color for each section. I used white, pink, and gold. My process was to start at the top and work my way down. I did several light coats until the desk was evenly coated. In between each coat I lightly sanded using a block sander to make the surface more even and smooth. 

How to Makeover an Old School Desk with Spray Paint #DIY

After the first section dried I covered it with plastic and began painting the next section. This process worked well because by working my way down I could always paint over the extra drips of color that went into the next section. After the first section dried I went on to the next, again taping over the dried section.

How to Makeover an Old School Desk with Spray Paint #DIY

And then I had my completed desk! My daughter loves it!

How to Makeover an Old School Desk with Spray Paint #DIY

The desk and the products to make it over cost about $20. It's amazing what a few cans of spray paint can do for some furniture. If you are looking for a quick way to update furniture, I fully suggest you give spray paint a try. If you do, please share you project with me! 

This makeover is apart of the Furniture Refresh Challenge with this month's theme being Inspired By. I was inspired by the ladies of Classy Clutter Blog. Get some inspiration by checking out more Furniture Refresh Challenge furniture makeovers below.

If you loved this project! Take a second and post it to your Pinterest board using this pinnable image below!

How to Makeover an Old School Desk with Spray Paint #DIY


DIY: A Modern Wall Clock

This shop has been compensated by Collective Bias, Inc. and its advertiser. All opinions are mine alone. #BringingInnovation#CollectiveBias

#Shop #EnergizerEcoAdvance #BehindtheBigGreenDoor

Wall clocks are what some may think of as being out of style. With today's technology and the fact that we constantly have our phones in our hands, with the time displayed, it doesn't seem like there is much need for a wall clock anymore.

I had an old wall clock that I was thinking of getting rid of. The clock honestly wasn't my style and the glass is missing. However, on the other hand, I loved the size of the clock. Plus I am still one of those people who likes having traditional clocks. I started to throw it away but being the person that I am, I hate to just throw things away before thinking on a way to reuse it or to upcycle it to make it better. It's my way of keeping things out of the landfills. Hey, I'm just trying to do my part in keep our Earth clean! :)

For a while I have wanted a modern minimalist wall clock. My style is somewhere in between minimalist and maximalist. Is that a word.. maximalist?? I like the less is more look and sometimes I like to layered look. For this clock I wanted the less is more look. This is one of the easiest projects I have done and you can do it too! Supplies and Instructions are below.

Supplies
1. Wall clock
2. Two cans of spray paint
3. Painters tape
4. Batteries
5. Plastic

Here's what I started with. You want to check out any damage that you may have and repair what you can. This clock had a small nick in it and the seconds hand was bent. Outside of that, it was fine.

#Shop #EnergizerEcoAdvance #BehindtheBigGreenDoor

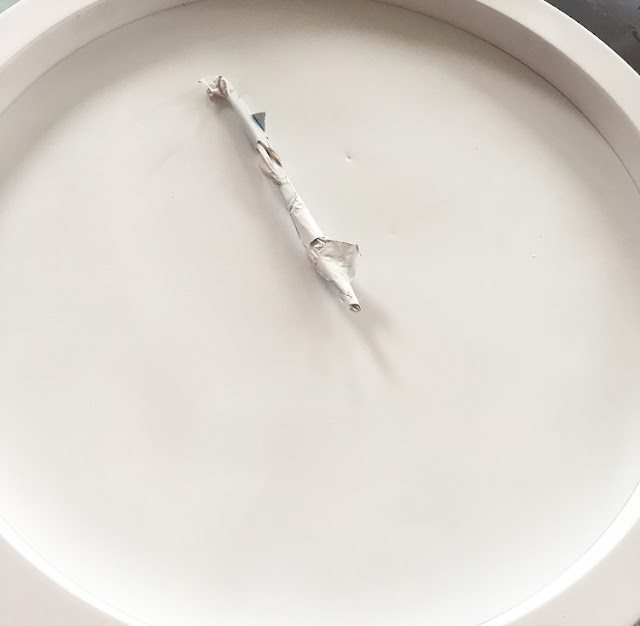
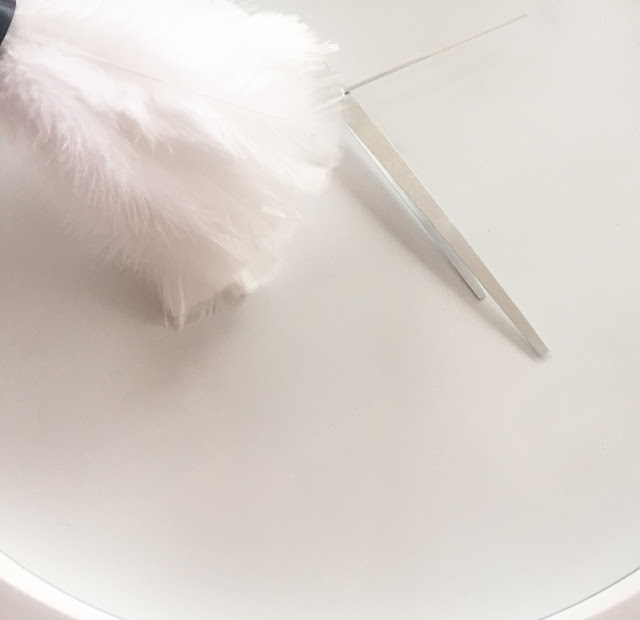
Next determine how you want your clock to look. For me I wanted very simple and modern. My plan was to paint the clock all white and then make the hands gold. So I taped up the hands and removed all the dust that was on the clock. I then sprayed painted the clock white. It took about a can and a half to cover everything. I did about 4 coats.

#Shop #EnergizerEcoAdvance #BehindtheBigGreenDoor

#Shop #EnergizerEcoAdvance #BehindtheBigGreenDoor

#Shop #EnergizerEcoAdvance #BehindtheBigGreenDoor

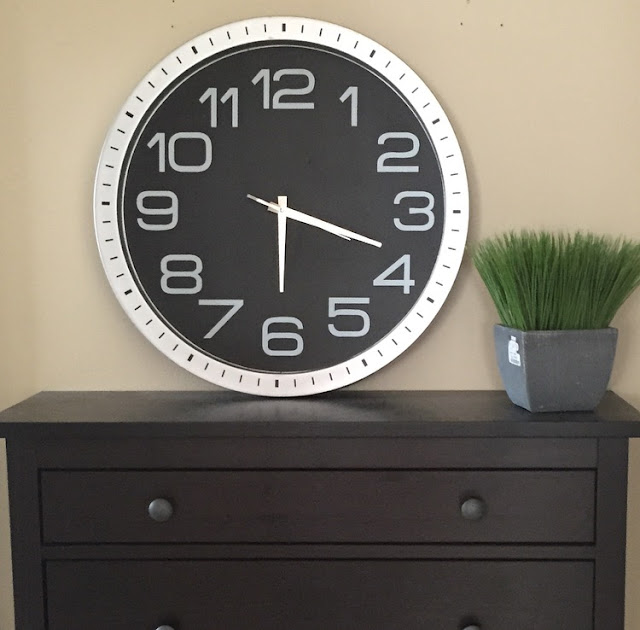
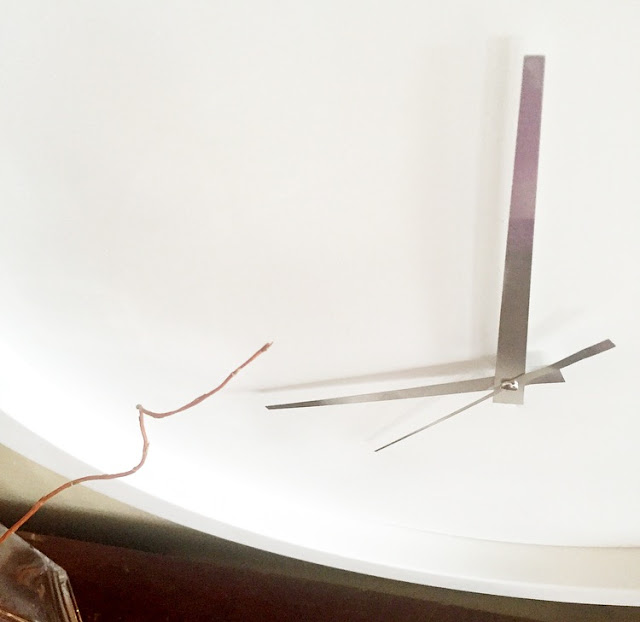
After the paint dried I removed the tape from the hands and dusted the clock again. When I took the tape off I actually liked the silver with the white. I ended up keeping the hands silver. Which I think worked out better since most of my downstairs' accents are silver.

#Shop #EnergizerEcoAdvance #BehindtheBigGreenDoor

#Shop #EnergizerEcoAdvance #BehindtheBigGreenDoor

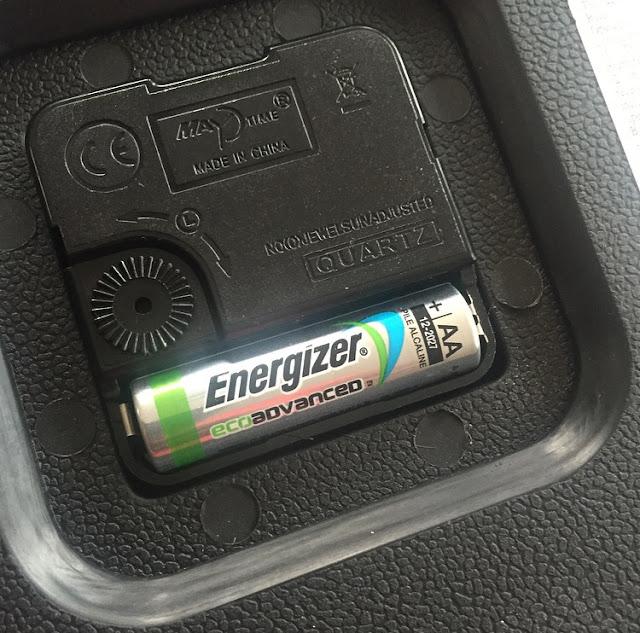
The next thing to do was to pop some batteries in this thing. I mentioned earlier, I like to try to recycle and reuse when I can so what better option was there for me to pick than Energizer® EcoAdvanced™ batteries.  Today, Energizer® EcoAdvanced™ contains four percent recycled material by total weight (which is nearly ten percent of a key active ingredient). This is the first battery on the market to use recycled batteries/materials which I think is pretty cool!

I picked the batteries up from Target and I easily found them in the electronics department. These were also quite a number of endcaps throughout the store with batteries.

#Shop #EnergizerEcoAdvance #BehindtheBigGreenDoor

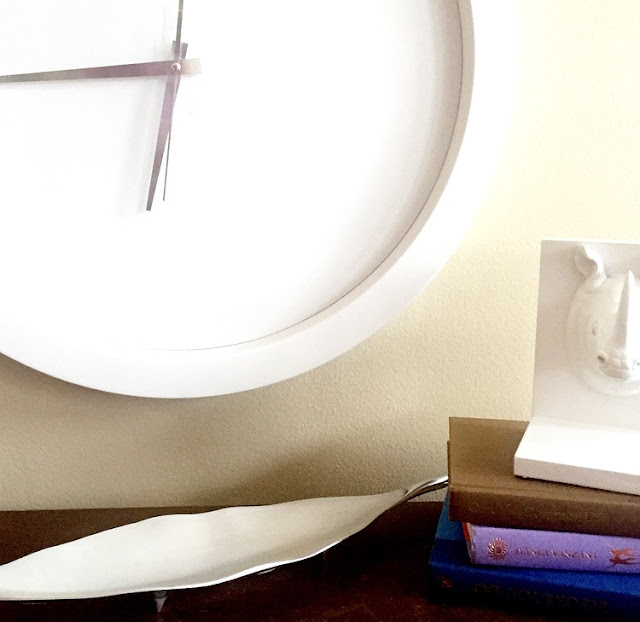
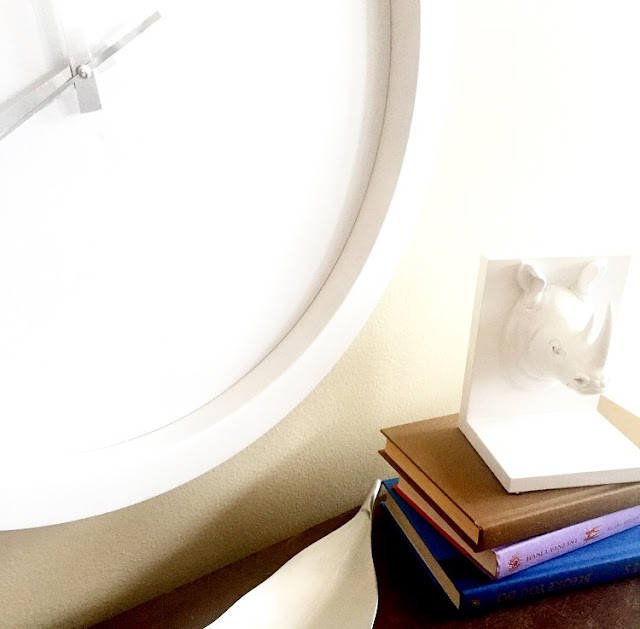
The last thing to do was to hang my clock and enjoy! I put it in the entry to my garage. I feel it's a perfect location because usually when we are heading out, we are needing to know the time.

#Shop #EnergizerEcoAdvance #BehindtheBigGreenDoor

#Shop #EnergizerEcoAdvance #BehindtheBigGreenDoor

#Shop #EnergizerEcoAdvance #BehindtheBigGreenDoor

#Shop #EnergizerEcoAdvance #BehindtheBigGreenDoor

What do you think of this upcycle? Are you a minimalist or a maximalist or somewhere in between, like me??  Have you considered Energizer® EcoAdvanced  batteries for your upcycled projects?

Do you like this post? Will you be trying it on your own? If so, pin the image below to your Pinterest boards to easily find in the future!

#Shop #EnergizerEcoAdvance #BehindtheBigGreenDoor