Simple Chic Gift Wrapping

Who all looks forward to wrapping gifts? Honestly, I don't. If you're like me, you want gift wrapping to be as simple and quick as possible.

I picked up some plain white gift boxes from Target and added some twine and a branch. This year I'm all about simplicity for Christmas so I love how this turned out.  


I used alot of scraps I had on hand from old projects to put together some more wrappings. I used ribbon, a stencil and a sharpie. I always added washie tape to a couple of boxes.


My daughter had some stickers left over from her little projects so she added them to this box. It give is a great pop against the white box.


Create a pattern on a plain box:


Add words:


What chic ways do you wrap your gifts?

Simple DIY Christmas Centerpiece


The countdown is still on.. 3 more days to Christmas! I wasn't too excited before but as the day gets closer I'm all of a sudden in the mood to be festive. This year my Christmas theme has been simplicity....I barely wanted ornaments on the tree, but I have to satisfy the little ruler (my 7 year old) of the house.

For my centerpiece I collected things I had around the house and yard and threw it all together. One thing I am working on is getting comfortable with combining different textures and styles to create something beautiful. My centerpiece is truly a collaboration of styles and I love how it turned out.

The basket has an old feel to it and I picked it up from Goodwill for about $1.00. The little birdie was a Marshalls find. It use to have a tail on it but my daughter accidentally broke it. In the long run it works out because it fits perfectly in this basket


I gathered the branches and berries from my yard and my mom's yard. Lastly, I added a candle in a wintry scent, Apple Cinnamon and my centerpiece is complete.

Check out some of my other DIY Christmas Centerpieces:
Holiday Martini Glass
DIY Holiday Centerpiece

Will you be creating any simple  Christmas centerpieces? Do tell!

DIY Front Door Wreath


Wow, we only have 4 more days til Christmas! For all my last minute decorators I have a little project I worked on over the the weekend that I wanted to share. It cost me next to nothing to make this because I had alot of the supplies on hand and I got the branches, berries, and pine cones out the yard and from old ornaments. It cost me $3.00 to purchase the command strips that I didn't already have on hand.

To create this DIY Front Door Wreath here the things you will need:

1. Twine
2. Greenery Branches
3. Berry Branches
4. Mini Pine Cones
5. Glue Gun
6. Command Strips
7. Gold Spray Paint


Here's what to do:

Lay out branches and holding them together at the stem. Next, add berry branches on top. Gather the stems together with the branches that you already have.


Then you want to take twine and tie a knot around the branches. Tie it extra tight to hold everything in place. If you would like you can also secure it with hot glue. Next, hot glue the mini pine cones around berries


For a finishing touch you can spray paint your command strip. I don't like the way that the white looks personally so to get rid of that I use my trusty spray paint in a gold finish. Lastly, hang up your command strip and hook your wreath!


Now how easy was that? What do you think of this project? Will you be making your own DIY Front Door Wreath before Christmas? Do tell!

The Key to Making Over a Room - Breaking up [with] Matchy Furniture Series


If you have been following along with my Breaking up [with] matchy furniture series, you will know that I am in the process of redoing my dining room. In my last post, I shared some stuff I scored from Craigslist. At the time the plan was to redo the table and chairs. Well, we all know nothing EVER goes according to plan!

When I sat down at the table it felt way too small! It was only 48'' and I got to thinking I might need a 60'' table. My mother's friend is a wonderful carpenter and he BUILT me a bigger table top!

So here is the table and room.


and the key to making over a room... TAKE EVERYTHING OUT! ...or at least as much out as you  can. Get it the room down to the barest bones you can get it. I removed the picture, desk, and chair from the corner


That still wasn't enough! I needed it bare!


And that's the key! Why is that the key you may ask.. well when the room is bare you can truly see the space that you have to work with! You can see how big or little the room actually is. Also, with a blank slate your imagination is free to roam and not be influenced by what you may already have in the room.

So I have got some major progress done. If you remember I was talking about getting a bar cart and turning the table white. Well that has been done! Check out this post for my completed bar cart!

Still left to do is to reupholster and paint my chairs, and get a nice jute rug for under my table.


With clearing out the dining room I have added some things on my to-do,
1. Changing the curtains
2. Changing the light fixture
3. New Artwork
4. A possible buffet table.

Now Check out just how far this room has come:
Dining Room Part 1
Dining Room Part 2

So what do you think of my new table?! Also, what is your key to making over a room? Do tell!

Coffee Cart Makeover

This shop has been compensated by Collective Bias, Inc. and its advertiser. All opinions are mine alone. #MakeItMerrier #CollectiveBias

#Shop #CoffeeCartMakeover


Hey Friends, believe it or not we have less than 20 days until Christmas! I can't believe how fast the year has flown. Every year I host a Christmas breakfast for my little family and our parents. Our little breakfast started originally out of necessity because the Mr. worked nights so it was a great way for everyone to spend time together before he headed off to work. Also, with my daughter being the only grandchild on both sides, everyone wants to spend time with her. I figured this was the best way to get everyone together. So every year, we all wake up early, open gifts and enjoy a big breakfast together!

I like to make a big breakfast too, I'm talking pancakes, fried potatoes and onions, eggs, bacon, hashbrowns, toast, biscuits, grits and anything else that someone might request. I'm all about making the house comfy and welcoming for everyone so this year I decided to make a tea, coffee, hot chocolate station for my guests. My in-laws are coffee drinkers and me and the Mr. love to have a nice cup too, so I figured it would be a great addition to the breakfast.

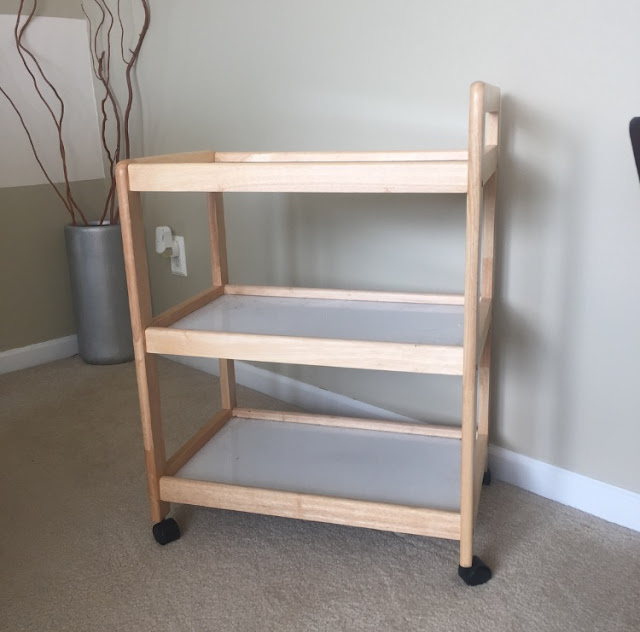
About 2 years ago I ran across a bar cart at the thrift store for $20.00. I wasn’t sure what I wanted to do with it, as far as styling and the facelift it needed so it got pushed to the back burner.Thinking about how I wanted to extend more on my family tradition by adding the drink station I thought the bar cart would be perfect!

The cart itself has good structure and bones, however, I was not too thrilled with the color and finish. The plan was to spruce this thing up and then style it to give it a brand new look. The first step was to lightly sand the wood finish.I got a small piece of sand paper and roughed up the wood so that the paint would have something to adhere to. After sanding and cleaning it I taped off all the sections that I did not want painted.

#Shop #CoffeeCartMakeover

#Shop #CoffeeCartMakeover

#Shop #CoffeeCartMakeover


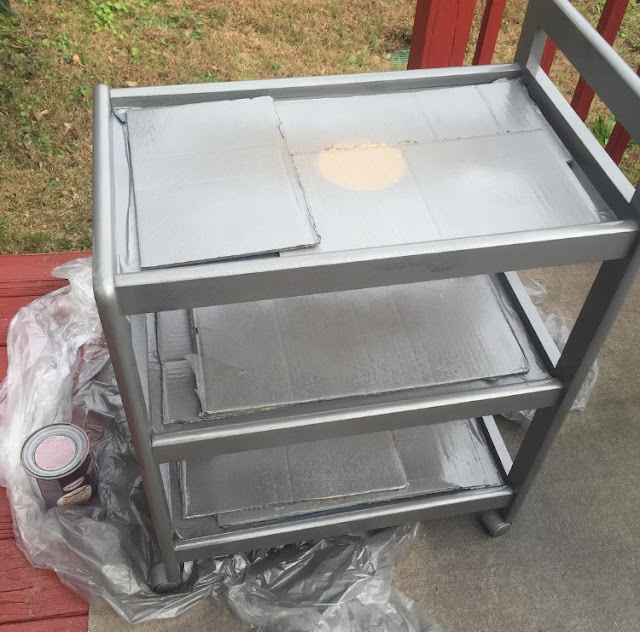
I then began spray painting. I used Rustoleum's Weathered Silver with Hammered Texture. I wanted my cart to have a little texture to it. When spray painting you want to do several thin coats so that you avoid drips. It takes a lot of patience for me because the person I am, I want it to instantly be finished! If you want to learn patience, spray paint a piece of furniture.

You might have some drips from the spray paint. The best way to fix that is to lightly sand where you see the drips and then re-spray that area.

#Shop #CoffeeCartMakeover

#Shop #CoffeeCartMakeover

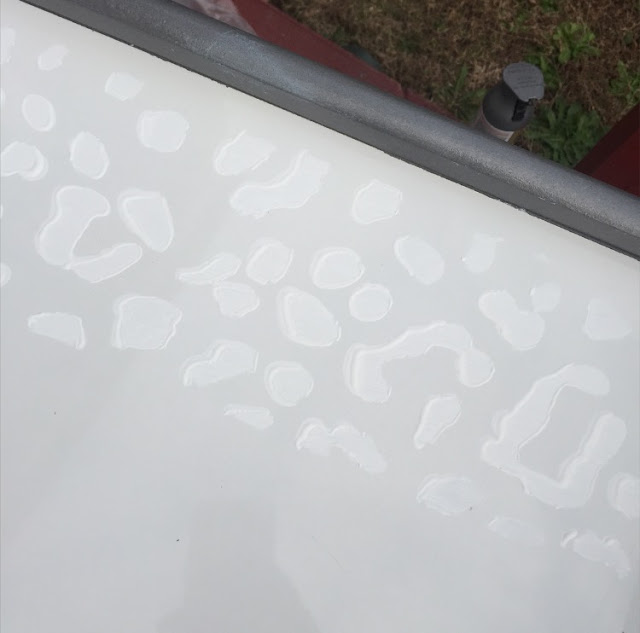
After the many coats dried I added a print to the top shelf. There were some marks on the top that would not come off so I felt the print would be a good distraction from those marks. I wanted the print to be there but not there so I opted to use a white paint and a stencil. 

#Shop #CoffeeCartMakeover

#Shop #CoffeeCartMakeover

#Shop #CoffeeCartMakeover

#Shop #CoffeeCartMakeover

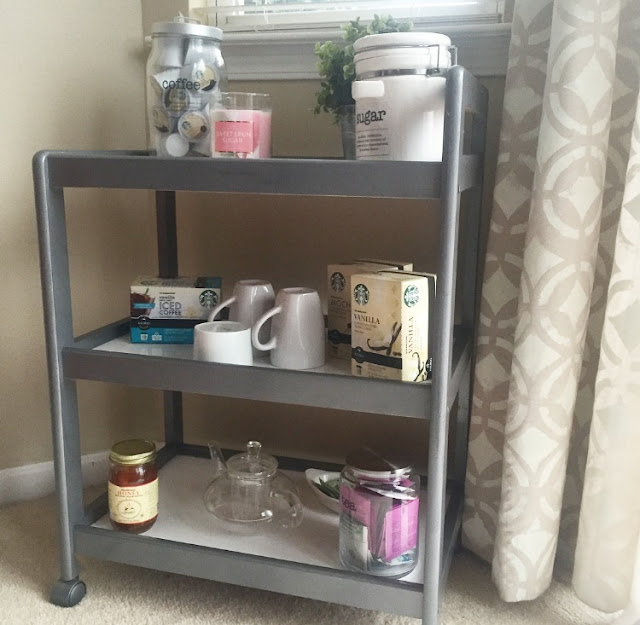
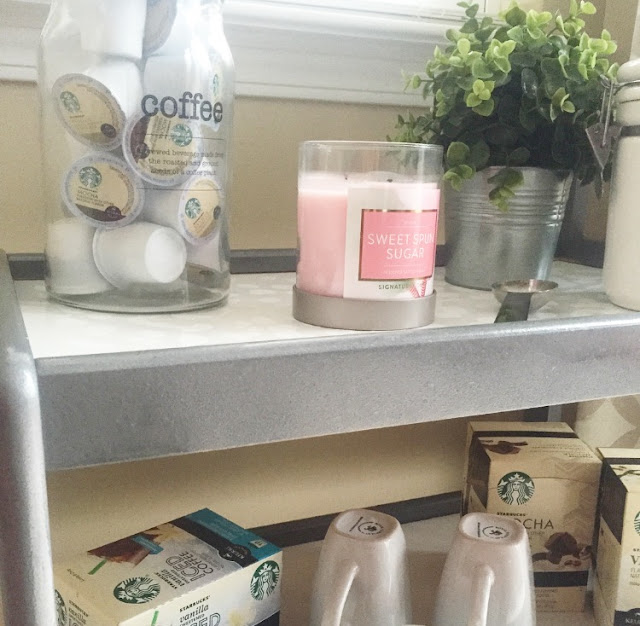
Once everything dried all that was left to do was to style the cart and add some basic essentials.

#Shop #CoffeeCartMakeover

#Shop #CoffeeCartMakeover

#Shop #CoffeeCartMakeover

#Shop #CoffeeCartMakeover

#Shop #CoffeeCartMakeover

#Shop #CoffeeCartMakeover

I think my new drink station will be a hit at my annual Christmas breakfast! 

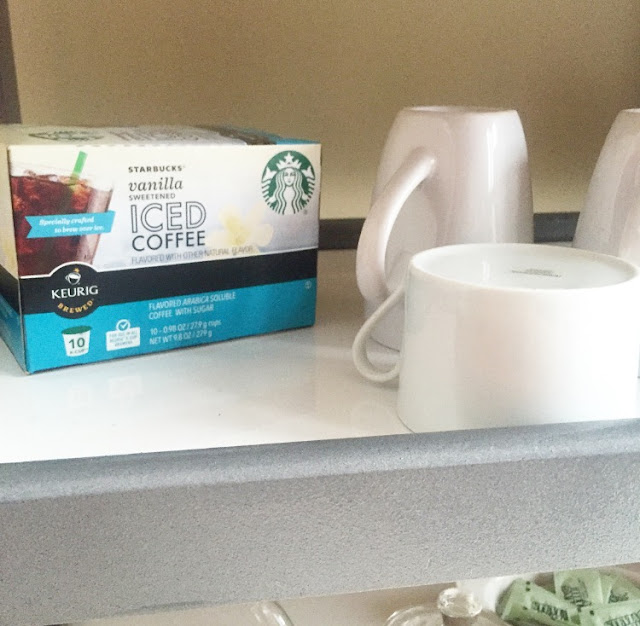
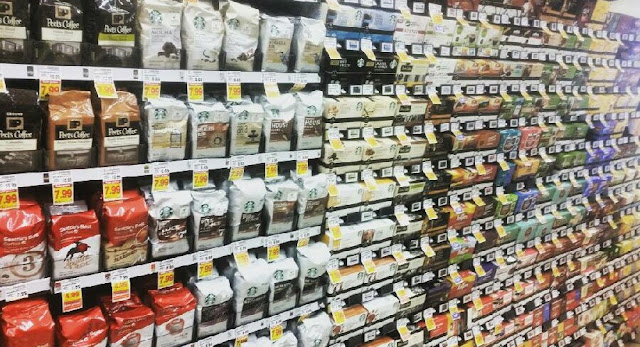
For my coffee station I purchase the Starbucks Vanilla Sweetened Iced Coffee, Starbucks Mocha, and Starbucks Vanilla from Kroger. All items were located in the coffee aisle.

#Shop #CoffeeCartMakeover

Great news for you, you can get a $5 Starbucks Card e-gift when you purchase 3 or more qualifying Starbucks products. Also, you should check out Starbucks holiday offerings and their delicious coffee!

Now tell me, do you love coffee like my family? What holiday tradition do you have? 

Adding Curtains to the Living Room


For a while now I have thinking about adding curtains to the living room. I have been working on finally completing the living room. Believe it or not, I've been in my home 4 years and I STILL don't have many completed spaces. Shame I know, but it's hard for me to settle down on something when I love to decorate.

Well, now I feel I have come to a comfort zone with the living room and now I am in the process of adding finishing touches. Today, I added curtains to the living room! I have been a bit indecisive about this, but after some reassurance from some of my blogger buddies I went ahead and got it done.

I haven't completed the room, so I'll only be showing a small section today. Here is what I started with:


I purchased a pair of white curtains from IKEA. The great thing about their curtains is that they are super long, which works well for my house because I have high ceilings.  They are semi sheer and are pretty lightweight.

I wanted to add a little pop of color so I paint the top and outside border of each curtain using paint from Home Decorators Collection called Indigo Ink. I have been majorly inspired by this picture here of my daughter in between me and her father. The colors have been an inspiration throughout my space.


For the curtain rods, I thought I'd be smart and try to make some DIY curtain rods using electrical conduit. Long story short, it didn't work out, so I purchased these curtain rods from Home Depot. I love the simplicity of them and the finish matches my other accents in the room well.

With the curtains being so thin, the paint bleed right through onto the drop cloth. I wasn't sure if I would like the look but once I got them hung, I actually like it. It has a weathered, finished but not finished look.


and here we have the curtains. I think it was the layer that my living room needed. I realized the curtains also solved another problem I had. I've always felt my couch looked too short and the ceiling being high made it worst. When I added the curtains, the couch instantly didn't feel too short. I believe it's probably the way the curtains frame the window behind the couch.


So tell me what do you think? I am so happy that I finally decided to add curtains to the living room. I hope to have this space fully done and some pics up soon!

If you are interested in stenciling curtains and need some ideas check out some of my stencil curtains I have around the house:

Dining Room Curtains
Polka Dot Curtains
Master Bedroom Curtains


Fried Mac -n- Cheese Balls

This shop has been compensated by Collective Bias, Inc. and its advertiser. All opinions are mine alone. #NaturallyCheesy #CollectiveBias
#Shop #NaturallyCheesy

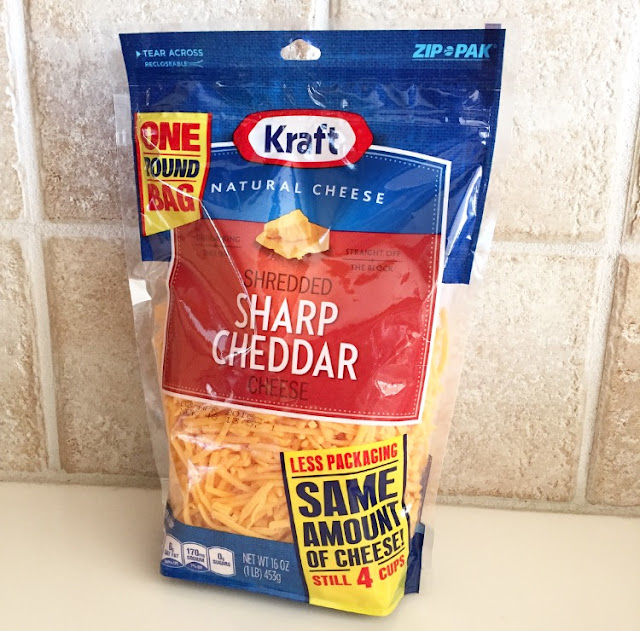
Tis the season for great food! I love this time of the year, with all the back to back holidays, you can guarantee that the eating will be good! There are so many great recipes I have found on cyber space that I'm so excited to try over the holiday. Over the weekend I got the taste for some fried mac - n- cheese balls. So I headed up to my local Walmart and grabbed everything I needed, including some Kraft Natural Shredded Cheese.

Today, I want to share a easy recipe that you can easily throw together as an appetizer, Fried Mac -n- Cheese Balls. If you like to host gatherings around the holidays this will be the perfect additional to your menu. Plus, my daughter gave me the seal of approval on these so I'm sure you will love them too!

Ingredients:

Pasta
1. 8oz Macaroni Pasta
2. 1 Teaspoon Salt

Cheese Sauce
1. 1/4 Cup Butter
2. 1/4 Cup Flour
3. 1 1/2 Cup Milk
4. 1/8 Teaspoon Nutmeg
5. 1/2 Teaspoon Salt
6. 1 Teaspoon Pepper
7. 1/4 Teaspoon Worcestershire Sauce
8. 1 Teaspoon Red Pepper Flakes
9. 2 Cup Kraft Natural Shredded Cheese (Cheddar)

Breading
11. 2 Eggs
12. 1/4 Cup Milk
13. Vegetable Oil


Directions:

Pasta - Boil pasta according to package directions. Add teaspoon of salt to water. 

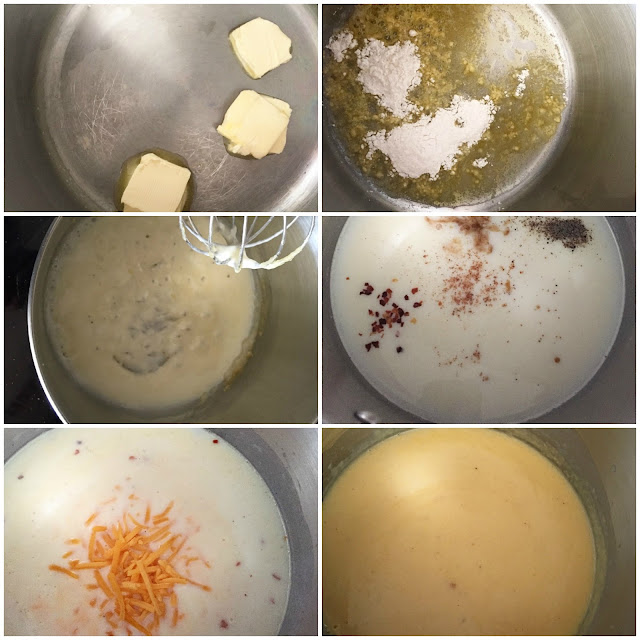
Sauce - Melt butter in large pan over medium heat. When butter foams add flour to pot. Stir flour into butter until it turns a light yellow. Wisk in 1/2 cup of milk. Wisk until it thickens and then pour in remaining milk. Add nutmeg, black pepper, Worcestershire sauce, salt and red pepper flakes and stir. Bring mixture to a simmer. While simmering add Kraft Natural Shredded Cheese, a handful at a time, and stir. Let simmer for 5-7 minutes, stirring frequently. 
#Shop #NaturallyCheesy

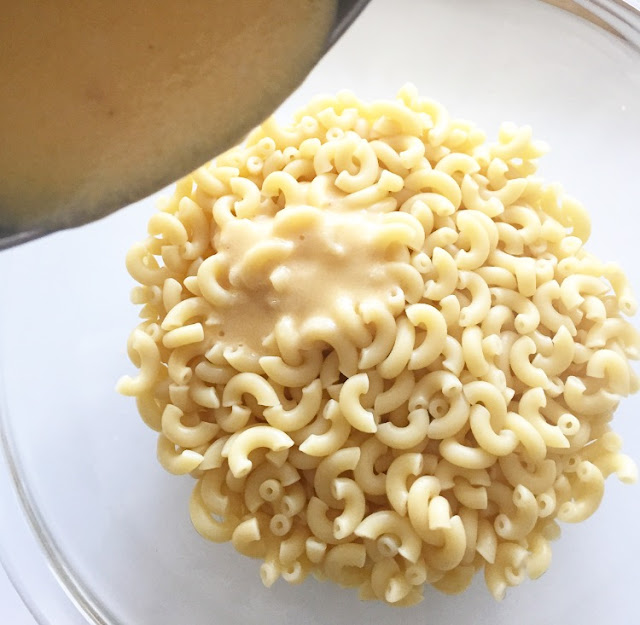
Combine macaroni and cheese sauce in bowl. Add a handful of Kraft Natural Shredded Cheese and stir. Place bowl in refrigerator to cool noodles. 

#Shop #NaturallyCheesy

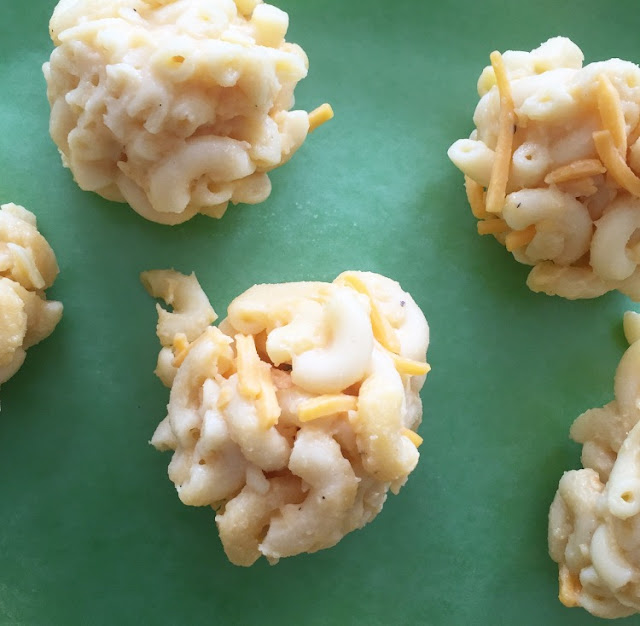
After macaroni cools, form balls out the macaroni and added Kraft Natural Shredded Cheese to balls. Create balls and place on wax paper. Pleases cheese balls in freezer for a couple of hours.

#Shop #NaturallyCheesy

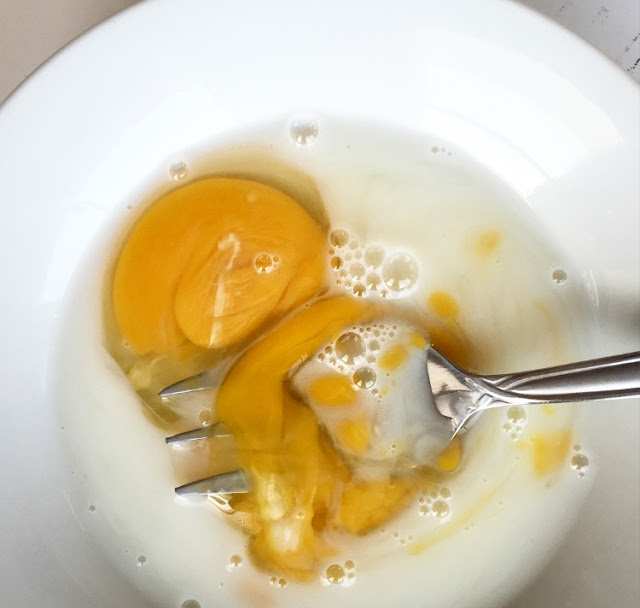
Breading - In small bowl combine two eggs and milk. Take your frozen balls and roll in the egg mixture and then roll in bread crumbs. If you like it extra breaded, roll again in eggs and bread crumbs to double coat. Please balls in deep fryer and fry for 3-4 minutes at 350 degrees.

#Shop #NaturallyCheesy

#Shop #NaturallyCheesy

#Shop #NaturallyCheesy

#Shop #NaturallyCheesy

Lastly, add some dipping sauce and enjoy!  These little balls are so cheesy and delicious! 

So tell me, what cheesy recipes will you be putting together over the holiday. Check out more recipes ideas HERE!

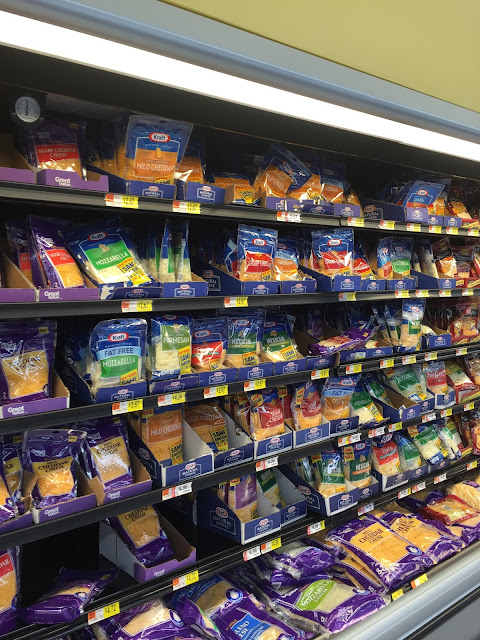
Also, this get this cheesy goodness from the cheese department at your local supermarket!

#Shop #NaturallyCheesy

#shop #NaturallyCheesy #BehindtheBigGreenDoor