This shop has been compensated by Collective Bias, Inc. and its advertiser. All opinions are mine alone. #NaturallyCheesy #CollectiveBias

Today, I want to share a easy recipe that you can easily throw together as an appetizer, Fried Mac -n- Cheese Balls. If you like to host gatherings around the holidays this will be the perfect additional to your menu. Plus, my daughter gave me the seal of approval on these so I'm sure you will love them too!


After macaroni cools, form balls out the macaroni and added Kraft Natural Shredded Cheese to balls. Create balls and place on wax paper. Pleases cheese balls in freezer for a couple of hours.


Ingredients:
Pasta
1. 8oz Macaroni Pasta
2. 1 Teaspoon Salt
Cheese Sauce
1. 1/4 Cup Butter
2. 1/4 Cup Flour
3. 1 1/2 Cup Milk
4. 1/8 Teaspoon Nutmeg
5. 1/2 Teaspoon Salt
6. 1 Teaspoon Pepper
7. 1/4 Teaspoon Worcestershire Sauce
8. 1 Teaspoon Red Pepper Flakes
9. 2 Cup Kraft Natural Shredded Cheese (Cheddar)
Breading
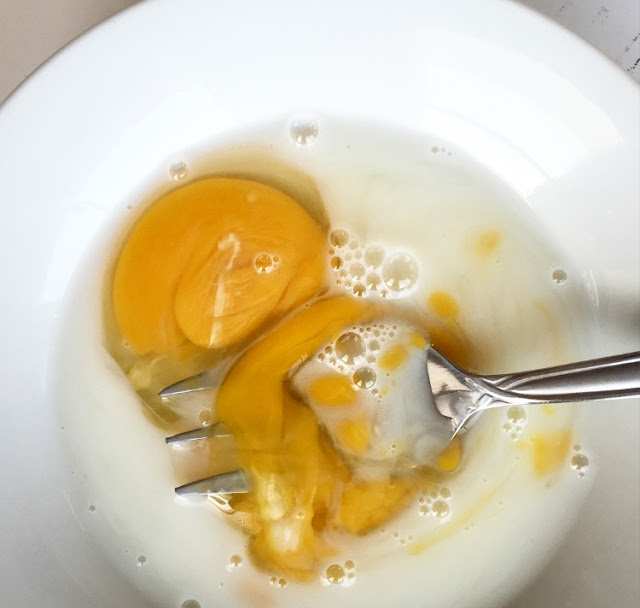
11. 2 Eggs
12. 1/4 Cup Milk
13. Vegetable Oil
Directions:
Pasta - Boil pasta according to package directions. Add teaspoon of salt to water.
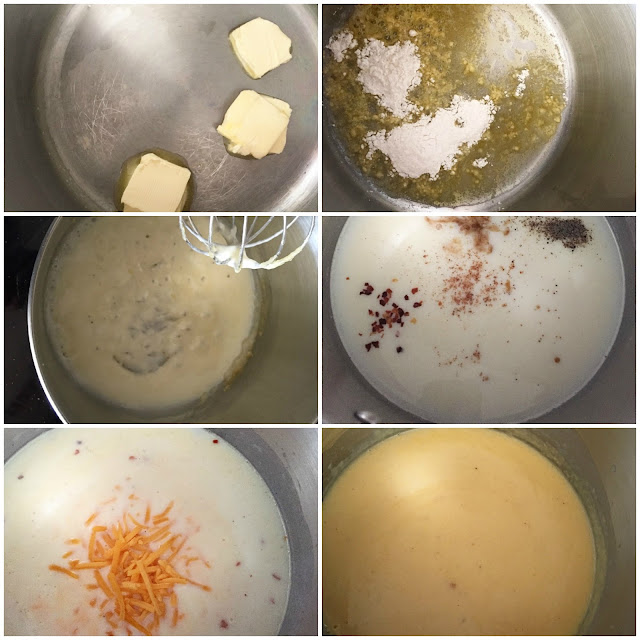
Sauce - Melt butter in large pan over medium heat. When butter foams add flour to pot. Stir flour into butter until it turns a light yellow. Wisk in 1/2 cup of milk. Wisk until it thickens and then pour in remaining milk. Add nutmeg, black pepper, Worcestershire sauce, salt and red pepper flakes and stir. Bring mixture to a simmer. While simmering add Kraft Natural Shredded Cheese, a handful at a time, and stir. Let simmer for 5-7 minutes, stirring frequently.

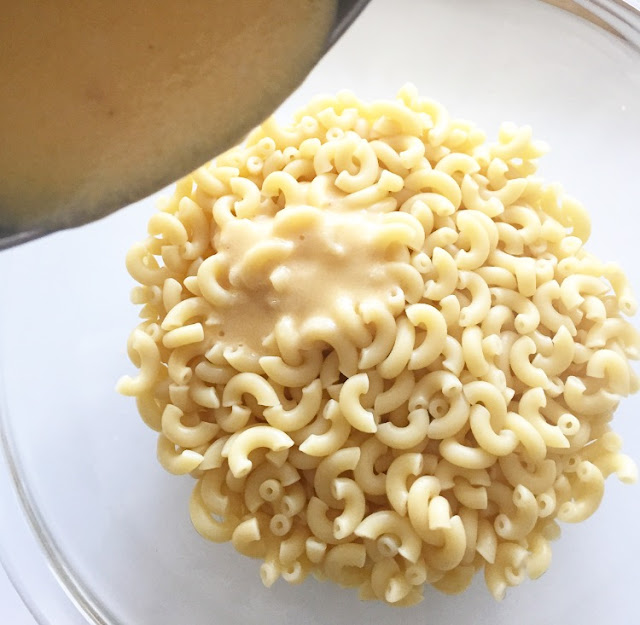
Combine macaroni and cheese sauce in bowl. Add a handful of Kraft Natural Shredded Cheese and stir. Place bowl in refrigerator to cool noodles.


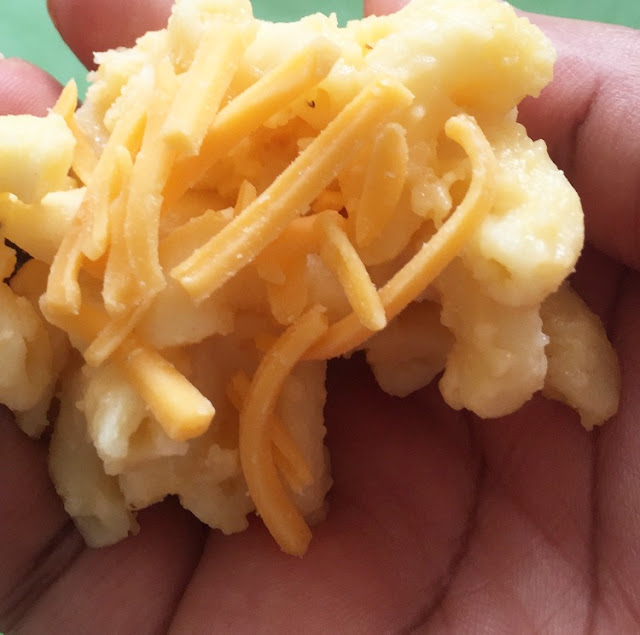
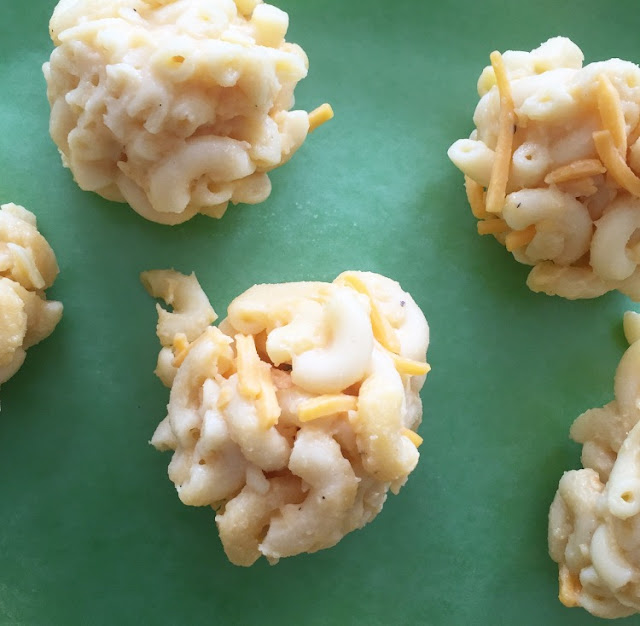
After macaroni cools, form balls out the macaroni and added Kraft Natural Shredded Cheese to balls. Create balls and place on wax paper. Pleases cheese balls in freezer for a couple of hours.


Breading - In small bowl combine two eggs and milk. Take your frozen balls and roll in the egg mixture and then roll in bread crumbs. If you like it extra breaded, roll again in eggs and bread crumbs to double coat. Please balls in deep fryer and fry for 3-4 minutes at 350 degrees.


Lastly, add some dipping sauce and enjoy! These little balls are so cheesy and delicious!
So tell me, what cheesy recipes will you be putting together over the holiday. Check out more recipes ideas HERE!
Also, this get this cheesy goodness from the cheese department at your local supermarket!
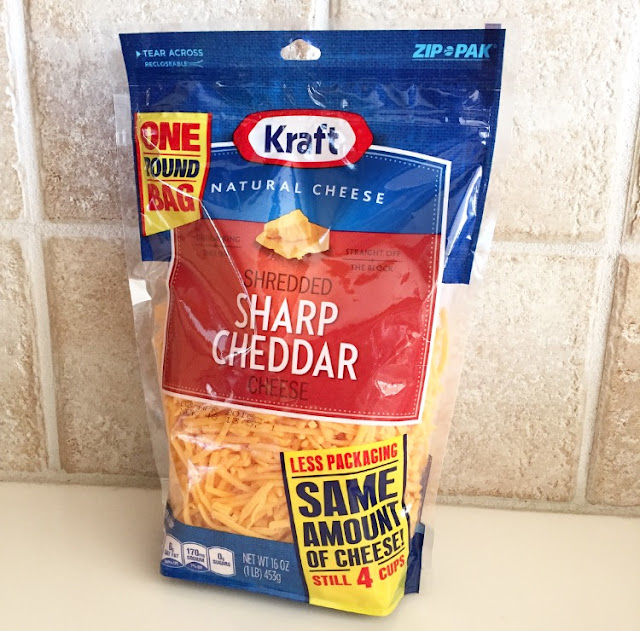
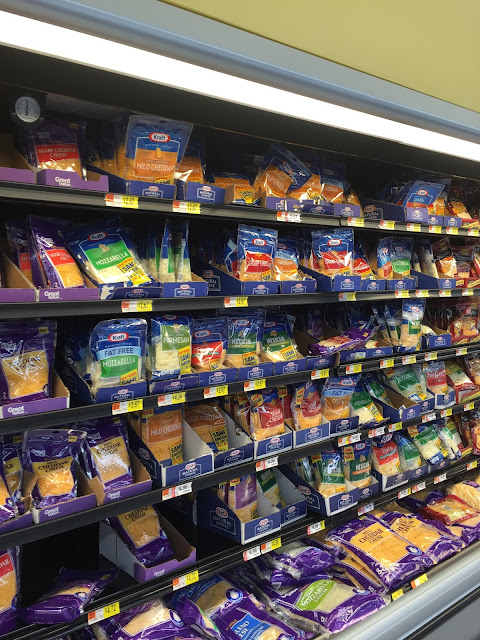
Also, this get this cheesy goodness from the cheese department at your local supermarket!


