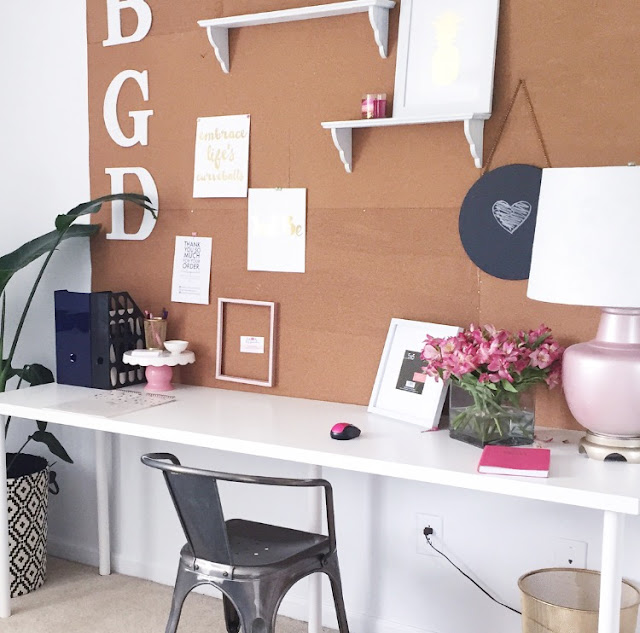
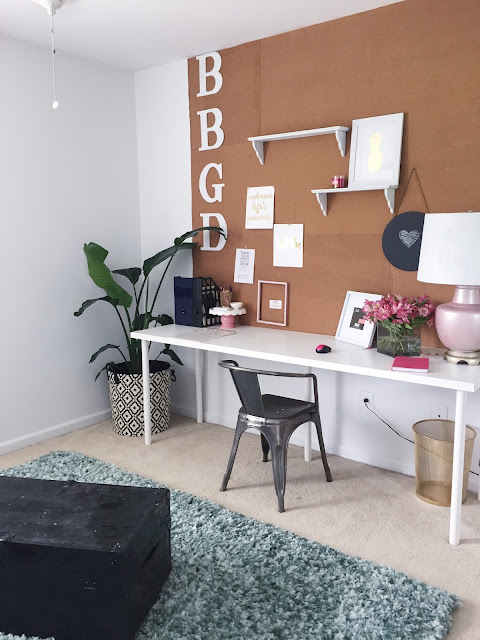
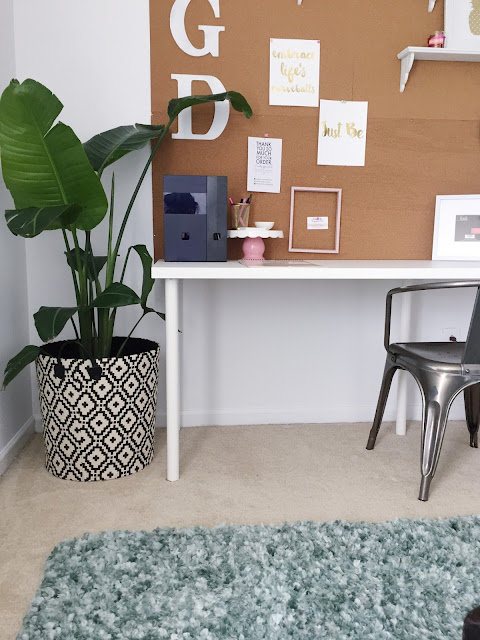
One of the main features of my new home office is my corkboard wall. I have received alot of great feedback on it and requests for a tutorial. So, today is the day where I share all the details behind what went into making this feature wall.
So let's get straight into the tutorial! You'll want to read everything from beginning to end before you start.
Supplies Needed:
- Corkboard Roll
- Spray Adhesive
- Finishing Nails
- Tape Measure
- Scissors
- Leveler
- Hammer
- White Cardboard Paper
- Books
Tutorial
1. Measure the portion of the wall that you intend to cover with corkboard. You'll need to buy enough of the corkboard roll to cover this area. I ended up using 2 1/2 rolls.
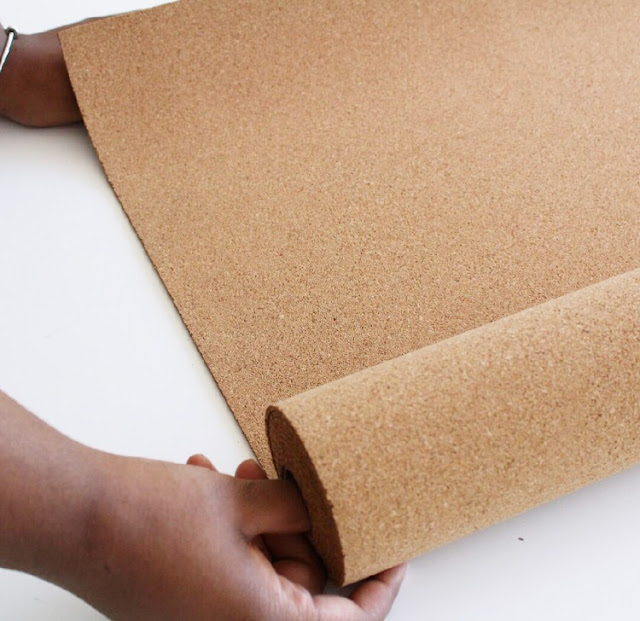
2. Unroll the corkboard roll and use books to flatten the corkboard.
2. Spray the spray adhesive onto the corkboard, To help the adhesive to stick better, spray it and allow it to sit for about minute.
3. Adhere the cardboard sheets to the corkboard. Smooth out any air bubbles as you are applying the cardboard. Use books to add weight to the cardboard to help it stick to the corkboard. Allow this to sit for about 30 minutes
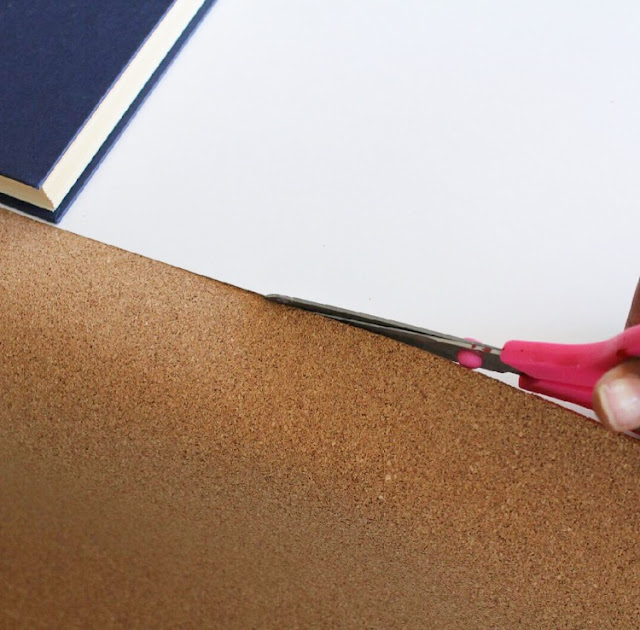
4. Cut off the excess corkboard that is not covered by cardboard.
5. Once you have all pieces you can begin to afix them to the wall. I used finishing nails to hang my pieces on the wall. You will need an extra pair of hands for this as the corkboard is pretty floppy.
6. Hang all you pieces up until you have your wall covered.
Things to know:
- I purchased my corkboard roll from Hobby Lobby. It is VERY flimsy and easily tears. You'll want to be very careful when unrolling. This is the reason I adhered the cardboard onto the corkboard. It helps with the tearing.
- Secondly, I started from the bottom and went up. Totally wrong way to do that! You want to start from the top of your wall and work your way down.
- Measure, Measure, Measure. What's the saying..."Measure twice, cut once" It's very important to do this. I ran into an issue where one section of the corkboard was too long. I have to use a box cutter to try and trim it down to the right size. It was not easy or pretty.
- Lastly, I used ALOT of finishing nails on this. I would say I spaced them out every 3 inches. The corkboard tends to pop up so you want to make sure you have enough to hold it all to the wall.
Now the last thing for you to do is to decorate your corkwall. Do this according to your style and taste! I have to say, I absolutely love the way it turned out!
Will you be giving this project a try. Let me know in the comments you thoughts and feedback!


