The Pajama Jam


Yesterday was my little one's birthday! We spent a couple of weeks trying to figure what to do for her birthday. I gotta tell you these party places are a RIP OFF! You get so little for so much cost. So this year, we decided to do something at the house. It turned out so cute! Rhy wanted a pajama party and made it a rule that not only kids come in pajamas but also adults too!

Yesterday was a day full of everything Rhy. She had a birthday photo shoot, followed by hitting up a local pizza shop and then her pajama jam! B does photography and did a great job of capturing the personality of Rhy we all know and love.


She surprisingly enjoyed her photo shoot and even suggested different ways she wanted her pictures taken. Afterwards we went to a cute little pizza spot that was in the area of where we took the pictures. Pizza is her favorite so it was right up her alley!


After pizza we hurried home to get her party ready. We went with a pink and white theme. The decor was simple but just perfect for what she needed. We brought the table down from my home office downstairs and used my bar station table for her presents. We did a simple backdrop of alternating pink and white streamers.


My mom made the cupcakes for the party. My daughter loves her cupcakes so this was a special order for her.


As party favors we made cute little hot chocolate jars. Rhyan love putting this little jars together. We put hot chocolate on the bottom, topped with marshmallows, chocolate chips, and peppermints. We found these cute printable gift tags that we printed and cut out. [the printables didn't have polka dots on them like the site said, but they were still cute and served its purpose.]


Once the party got started the girls played a game of musical manicure and twister. Afterwards they had a dance party in the dark with glow sticks. I think that was their favorite part! lol


After they partied themselves tired, a few of her cousins spent a night. I went upstairs to check on them and they were all passed out on the couch. I think that was a sign that they enjoyed themselves. The next morning we finished up with breakfast and by that time I was tired myself.


All in all we had a great day! I'm so glad that my little one was able to see another year of life. We are excited about watching her grow and so happy she had a great birthday!

DIY: Tabletop Shelf

This shop has been compensated by Collective Bias, Inc. and its advertiser. All opinions are mine alone. #CoffeeCreamerCombos #CollectiveBias

#ad #CollectiveBias #CoffeeCreamerCombos

I think we can safely say that Fall is finally here. I know that it technically has been Fall for a couple weeks, but it sure hasn't felt like it. This weekend some cool air blew in and I could not be more excited. With it starting to finally feel like Fall I can finally bust out my hot tea, hot chocolates, and favorite coffee drinks. 


#ad #CollectiveBias #CoffeeCreamerCombos

I like to get creative with my coffee around this time of year, trying new flavors and mixing it all together to make my own mini coffee shop. Earlier last week I ran across Dunkin Donuts® Bakery Series® and I knew instantly I wanted to try the Cinnamon Roll flavor. I pick up a couple of bags along with Dunkin’ Donuts® Coffee Creamer Extra Extra. I thought this was a pretty unique type of coffee, plus an interesting creamer combination, so I couldn't wait to give it a try. 

I put together a little tabletop shelf that I have stocked with my favorite mugs and coffee drinks. My mornings are pretty hectic so I thought having an organized station for everything would simplify my life. 

Supplies:
1 - Pine Board 1" x 8" X 2'
1 - Pine Board 1" x 8" X 30"
2 Empty Tall Cans
3 Empty Small Cans
White Paint
Paint Roller
Glue Gun & Glue
Silver Metallic Spray Paint
Drop Cloth

#ad #CollectiveBias #CoffeeCreamerCombos

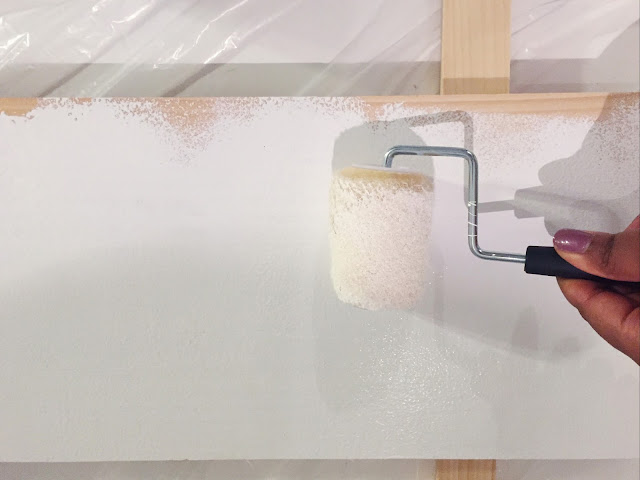
First you want to get your boards painted. I had the nice people at my local home improvement store cut down my boards for me, which was great. I chose to get pine because it's pretty inexpensive. I did two even coats of white paint on both sides of the boards. I like to prop the boards up on another piece of wood so that it is easier to paint the edges.

#ad #CollectiveBias #CoffeeCreamerCombos

#ad #CollectiveBias #CoffeeCreamerCombos

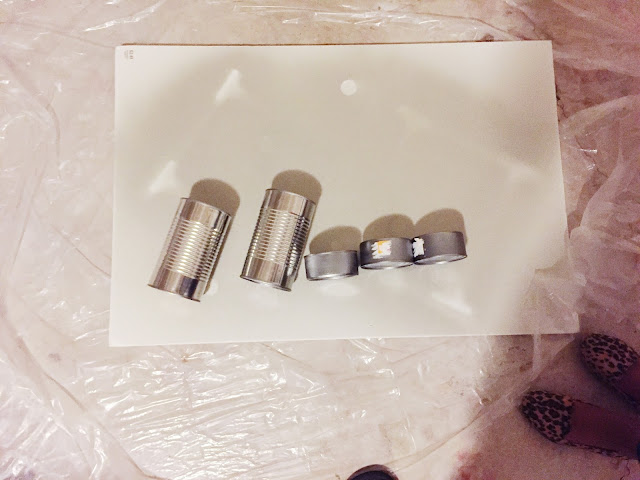
Next, spray paint your cans. After removing the can wrappers you may notice that cans aren't the same color. To give then a consistent look, give them a couple of coats of spray paint.

#ad #CollectiveBias #CoffeeCreamerCombos

#ad #CollectiveBias #CoffeeCreamerCombos

Using your glue gun, add glue to the top rims of the cans and place boards on top. Use the three small cans on the bottom. This will give the bottom shelf support. Then place your tall cans on top, evenly spaced to give the top shelf support. You will want to put your longer board on the bottom and short board on top.

#ad #CollectiveBias #CoffeeCreamerCombos

#ad #CollectiveBias #CoffeeCreamerCombos

Let this sit for a couple of  hours until dried completely. Afterwards you will be all set to stock your shelves. I stocked my shelves with my favorite mugs and coffee so they are easily accessible.

#ad #CollectiveBias #CoffeeCreamerCombos


Last but not least, you have to brew yourself a cup of this coffee!

#ad #CollectiveBias #CoffeeCreamerCombos

#ad #CollectiveBias #CoffeeCreamerCombos

#ad #CollectiveBias #CoffeeCreamerCombos

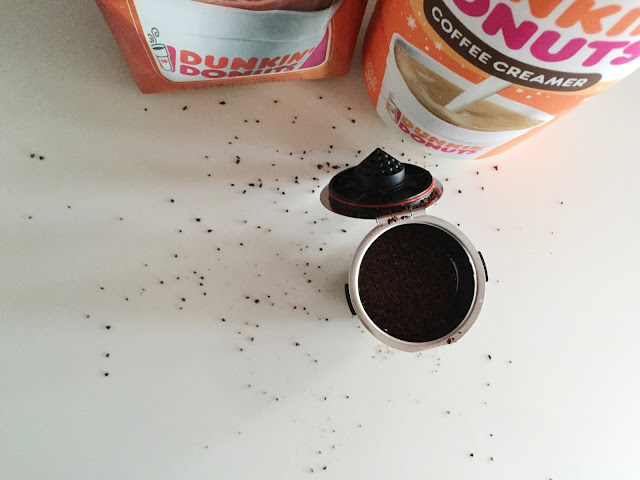
 After trying the Dunking Donuts Coffee, I knew it would go on this shelf. Oh, and the coffee and creamer combination was perfect! The aroma was great and the taste was delish!

#ad #CollectiveBias #CoffeeCreamerCombos

I'm so excited to have this little area built out. Early mornings and cool Fall weather calls for great coffee and I already know this Dunkin Donuts® Bakery Series® coffee with by apart of my routine. Give this coffee a try by picking it up from your local Kroger in the coffee aisle.

#ad #CollectiveBias #CoffeeCreamerCombos

Did you enjoy this post? If so, please consider subscribing to my newsletter!

5 Thrifted Jewelry Storage Ideas

This month is all about thrifting! One thing I love to pick up from the thrift store is storage items for small items, like jewelry. I am one of those people who always looses jewelry, usually because I have no designated spot for them. I have been working hard to keep up with my jewelry and found some great options at the thrift store for storage. Check out how I am using my thrifted finds in my home:

1. Search for cute ice cube trays to hold small stud earrings. I added a little jazz by spray painting them!

5 Thrifted Jewelry Storage Ideas

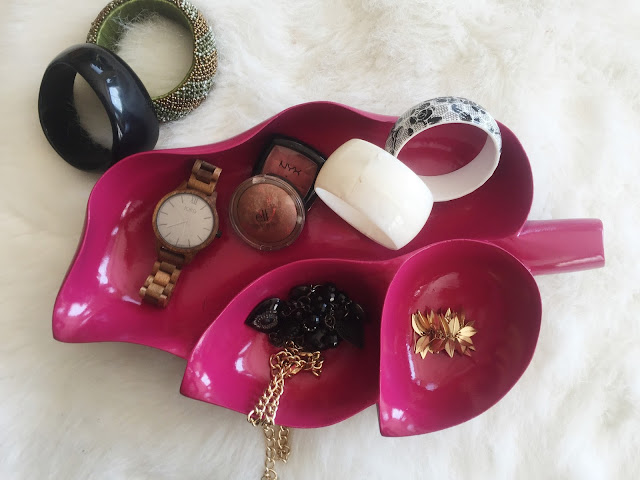
2. Find trays with compartments to make jewelry organization easy. 

5 Thrifted Jewelry Storage Ideas

3. Find decorative glass bowls to easily collect and display bracelets

4. Find small ramkens to hold rings and medium sized earrings

5 Thrifted Jewelry Storage Ideas

5.  Find old wooden bowls to holder bigger items. Add spray paint to give it an updated look!

5 Thrifted Jewelry Storage Ideas

Next time you are at the thrift store be on the lookout for these items!

Did you like this post, if so consider subscribing to my newsletter! Also, don't forget to pin one of the images above to your Pinterest boards for future use!

Quick + Easy Rice, Sausage & Veggie Bowl


#BensBeginners #UncleBensPromo #CollectiveBias #ad


Have you ever had one of those long days where  you just can't wait to get home and get in the bed. I have those from time to time but with the little one here I can't quite do that. As a mommy I have to of course make sure she is taken care of and fed. When I have days like that I like to put together quick and easy meals. 

I learned that October 15 is International Cook with your kids day and I thought that was so sweet. Since my daughter is usually glued to my hip I thought it would be a great way to incorporate her into celebrating this day. I wanted this meal to be easy and healthy, I'm trying to teach my daughter (and myself) to eat a bit healthier and us cooking together has always been fun for us.

We put together a Rice, Sausage and Veggie Bowl. You'll need the following ingredients to put this together:

Beef Sausage
1LB Broccoli
1 Green Pepper
1 Red Pepper
1 pack Mushroom
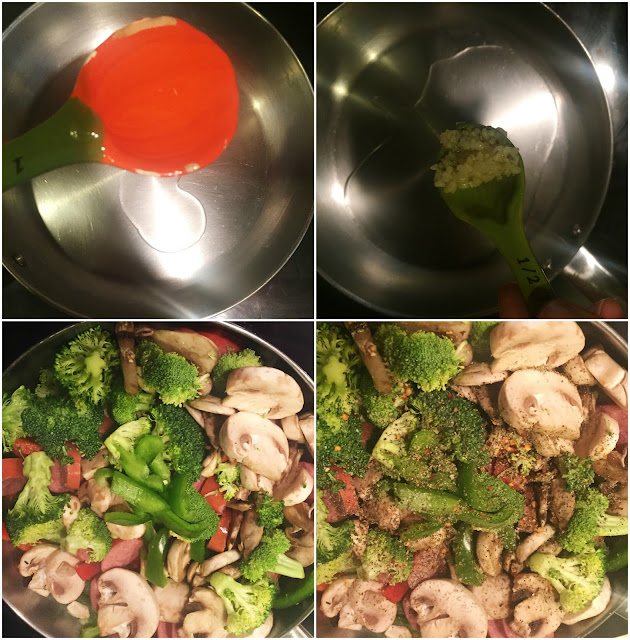
2 TBS Olive Oil
1/2 TBS Minced Garlic
Seasonings (Black Pepper, Garlic Salt, Red Pepper Flakes, Italian Seasonings)

#BensBeginners #UncleBensPromo #CollectiveBias #ad

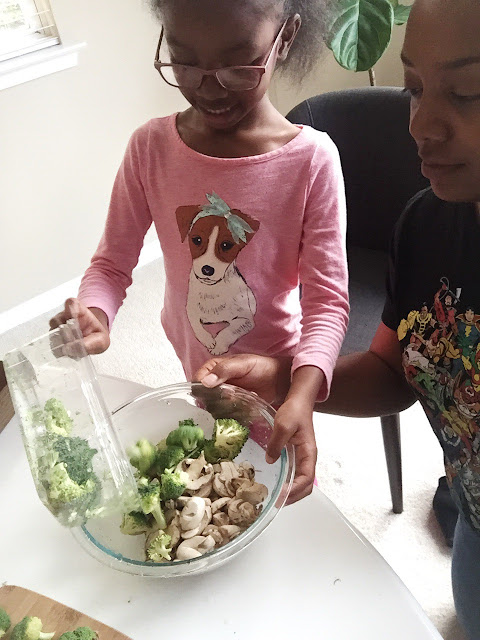
We first started by washing the veggies. My daughter loves doing this part. We dump all the veggies in a bowl and give them a good wash.

#BensBeginners #UncleBensPromo #CollectiveBias #ad


Next I prep my meat and veggies by cutting up the green peppers and beef sausage. We placed everything on our cutting board to have everything in one spot to get ready to cook.

#BensBeginners #UncleBensPromo #CollectiveBias #ad

In pan add the olive oil and minced garlic and heat over medium heat. Once the olive oil is hot add meat and veggies to pan. Add seasonings to taste. I generally sprinkle even layers of each seasoning on top and then stir well. Cover and let cook for about 12 minutes, stirring occasionally. 

#BensBeginners #UncleBensPromo #CollectiveBias #ad

While that was cooking I helped my daughter with warming up the Uncle Ben's Ready Rice. Following the direction on the package we vented both side and popped the rice in the microwave for 90 seconds.

#BensBeginners #UncleBensPromo #CollectiveBias #ad

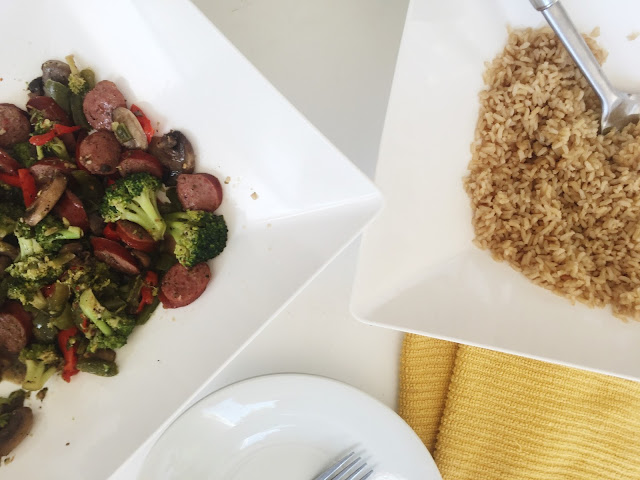
With the cool touch sides we were able to easily take it out of the microwave and pour it into a serving bowl. Once the mixture was done cooking we also added that to a serving bowl.

#BensBeginners #UncleBensPromo #CollectiveBias #ad

#BensBeginners #UncleBensPromo #CollectiveBias #ad

#BensBeginners #UncleBensPromo #CollectiveBias #ad

#BensBeginners #UncleBensPromo #CollectiveBias #ad

Lastly, I let my daughter fix our plates and we enjoyed! She was so proud of the meal that we cooked.

#BensBeginners #UncleBensPromo #CollectiveBias #ad


#BensBeginners #UncleBensPromo #CollectiveBias #ad

This meal was super easy, try this at home or if you want to try some other idea check out Ben's Beginner's Site for some great recipe ideas!

#BensBeginners #UncleBensPromo #CollectiveBias #ad