Following along with my month of thriftiness, I wanted to share a thrift store find that I gave a makeover too. A little backstory, I had every intentions on giving my mother's living room a makeover. I even started browsing thrift stores for her space. I found a table and two square boxes for $8 each....some kinda way two of the items have ended up in my living room. I can't help myself but I'll be finding more stuff for her space soon.
For the pink boxes my initial idea was to cover them with a cushion and fabric...except there's one problem... I can't sew! I totally winged it on this one ya'll and it actually turned out nice, So I want to share my method with you.
Here are the items that I used:
Box
Fabric
Cushion
Upholstery Nails
Navy Blue Spray Paint
Hammer
Scissors
Plastic Drop Cloth
For my Fall Home update I wanted to add more seating, When I ran across this pink box at the thrift store, it was love at first sight!
The box needed a good cleaning and it had a couple of cobwebs on the bottom, but the bones were good. And don't let the size fool you, it is pretty heavy.
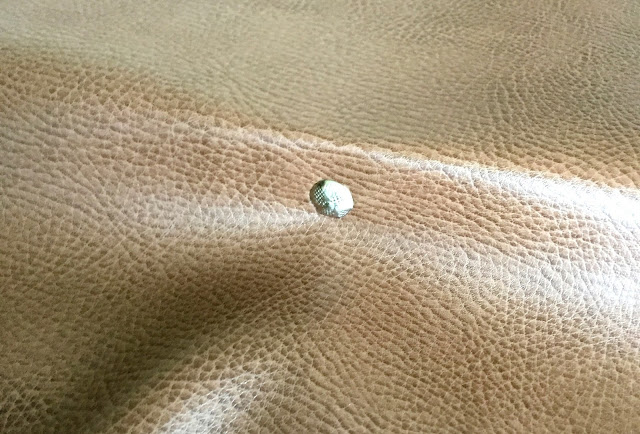
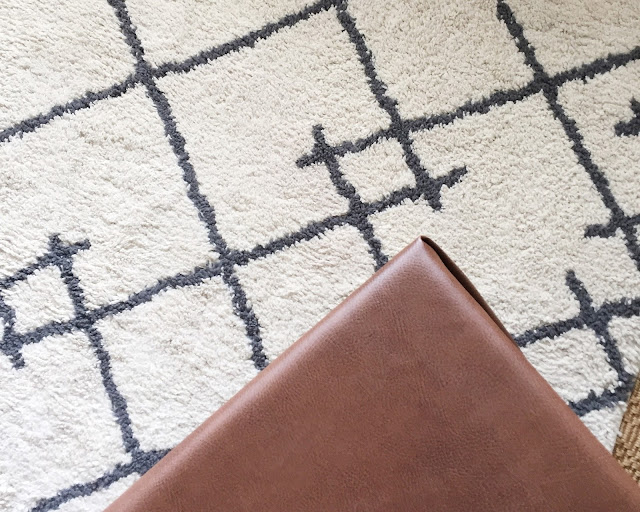
After cleaning I spray painted the bottom of the box navy blue. I gave it three light coats. After it dried I pulled out my fabric and cushion. I purchase a 2'' thick cushion from Hobby Lobby. I also picked up this faux leather from there as well. I love this cognac color, it just seems to match everything.
The cushion was too big so I used scissors to cut it. Because I was winging this, I didn't plan properly, but if you are redoing this, use a bread knife for cutting your cushion. It will give it a cleaner edge. I used hot glue to adhere the cushion to the box.
After getting your cushion adhered place your fabric over your box. I loosely draped it over the box to get a feel for how it would look.
This is where you will need your upholstery nails. I flipped the box on the side and use the nails to secure the fabric to the under side of the box.
Place the nails a couple inches apart nailing into the fabric until it is secure. I pulled the fabric down and secured the fabric with the upholstery nails on two opposite sides of the box.
For the other two sides, I folded the fabric like I was wrapping a Christmas gift. Smooth down the middle, turn the two sides of the excess fabric into triangles, fold the left side in and then the right side.
This is the fold before I secured the fabric. I pulled it extra tight and and secure it with more of the upholstery nails. Lastly I cut the excess fabric off of the bottom. I did leave a bit of the fabric to lay flat against the bottom part of the box. Super simple and after that I done!
I actually really like this folded look. It gives the box a really unique look. I asked B what her thought, since he is honest Abe, and he told me he really liked it. My daughter has somehow claimed the ottoman as her own.
Did you like this project, if so, consider subscribing to my newsletter. Also, don't forget to pin the image below to your Pinterest boards!


Looks great Alaya. I love how you found use of something that someone may normally pass up on. Your ottoman looks great!
ReplyDeleteThanks Erin! I almost passed it up but glad I didnt!
DeleteIt came out so good! and I'm with erin, I probably would have passed it up. Good eye alaya!
ReplyDeleteThanks Liah! It's def one of my favorite findss!
DeleteLooks great Alaya!
ReplyDelete3CFA0B2C90
ReplyDeletetakipçi satın al
Yabancı Takipçi
Bot Takipçi Atma
Fake Numara
Fatura ile Takipçi
834A1038EF
ReplyDeletekiralık hacker
hacker arıyorum
belek
kadriye
serik
004C8ECBCF
ReplyDeleteWhen exploring different methods of customizing fabrics, many enthusiasts recommend experimenting with various transfer techniques. One popular option is using dtf transfer film, which offers vibrant and durable results. This method is especially favored for its ease of use and high-quality finish, making it suitable for both beginners and professionals. Incorporating this technique can significantly enhance the creativity and versatility of your projects.